Category Archives: Astrophotography

Tonight’s “supermoon” on ABC Science

Today I’ve been interviewed in ABC Science about the “Supermoon” that we can enjoy tonight, 7th May 2020. For this we have used some of the images of the moon that my son and me have been taking during the last year.

I want to thank Genelle Weule for the excellent questions and for her great interest about astronomy and astrophotography.

Image

Comet C/2020 F8 (SWAN) over Sydney

Comet C/2020 F8 (SWAN), Sydney, May the 4th, 2020, 5:15am

Image combining 10 x 2min exposures using an Optolong L-Pro filter, Skywatcher BD80, focal reducer Orion x0.8, ZWO ASI178MC. Mount Skywatcher AZ-EQ6 Pro mount, camera ZWO ASI120MM for guiding and ASIair for controlling everything.

Individual frames dark subtracted with Siril software, then I did the alignment on the comet manually in Photoshop (that is why stars are moved and blurry, as stacked with median), where I also played with the color/brightness/contrast.

The top image is the resulting color image, the bottom image is the greyscale image increasing the contrast to increase the visibility of the tail and the faintest features.

Full resolution image in my Flickr.

A Twitter thread compiling some extra information about the imaging process in here.

Credit: Ángel R. López-Sánchez (AAO-MQ).

Image

The Heart of the Carina Nebula in H-alpha

The center of the Carina Nebula, with the bright star Eta Carinae and the Keyhole feature, in H-alpha.

Data taken from the backyard at home, ~15 km from Sydney’s city centre, on Monday 19th and Tuesday 21st April 2020.

Equipment: Skywatcher Black Diamond 80 (F=600mm, f/7.5), Skywatcher AZ-EQ6 (mount), ZWO ASI178MC (main camera), ZWO ASI120MM + Orion 50mm guidescope (guiding), 2″ Baader ultra-narrow (3.5 nm) H-alpha filter, and ASIair controlling everything (using my son’s iPad).

This image combines 35 x 600s light frames, and 30 x 600s dark frames. Aligned and stacked with SiriL, stretching, colour contrast, saturation, levels, and luminosity with Photoshop.

Full resolution image in my Flickr.

Credit: Ángel R. López-Sánchez (AAO-MQ).

Image

M42 from Sydney

Image of M 42 (The Orion Nebula) from my backyard, 15 km North from Sydney’s city center, on 10th Mar 2020.

Equipment: Skywatcher Black Diamond 80 (F=600mm, f/7.5), Skywatcher AZ-EQ6 (mount), ZWO ASI178MC (main camera), ZWO ASI120MM + Orion 50mm guidescope (guiding), 2″ UHD Optolong filter, and ASIair controlling everythin (using my son’s iPad).

This image combines 60 x 20s light frames, and 21 x 20s dark frames. Aligned and stacked with SiriL, stretching, colour contrast, saturation, levels, and luminosity with Photoshop.

Full resolution image in my Flickr.

Credit: Ángel R. López-Sánchez (AAO-MQ).

Image

Test of M8 from Sydney

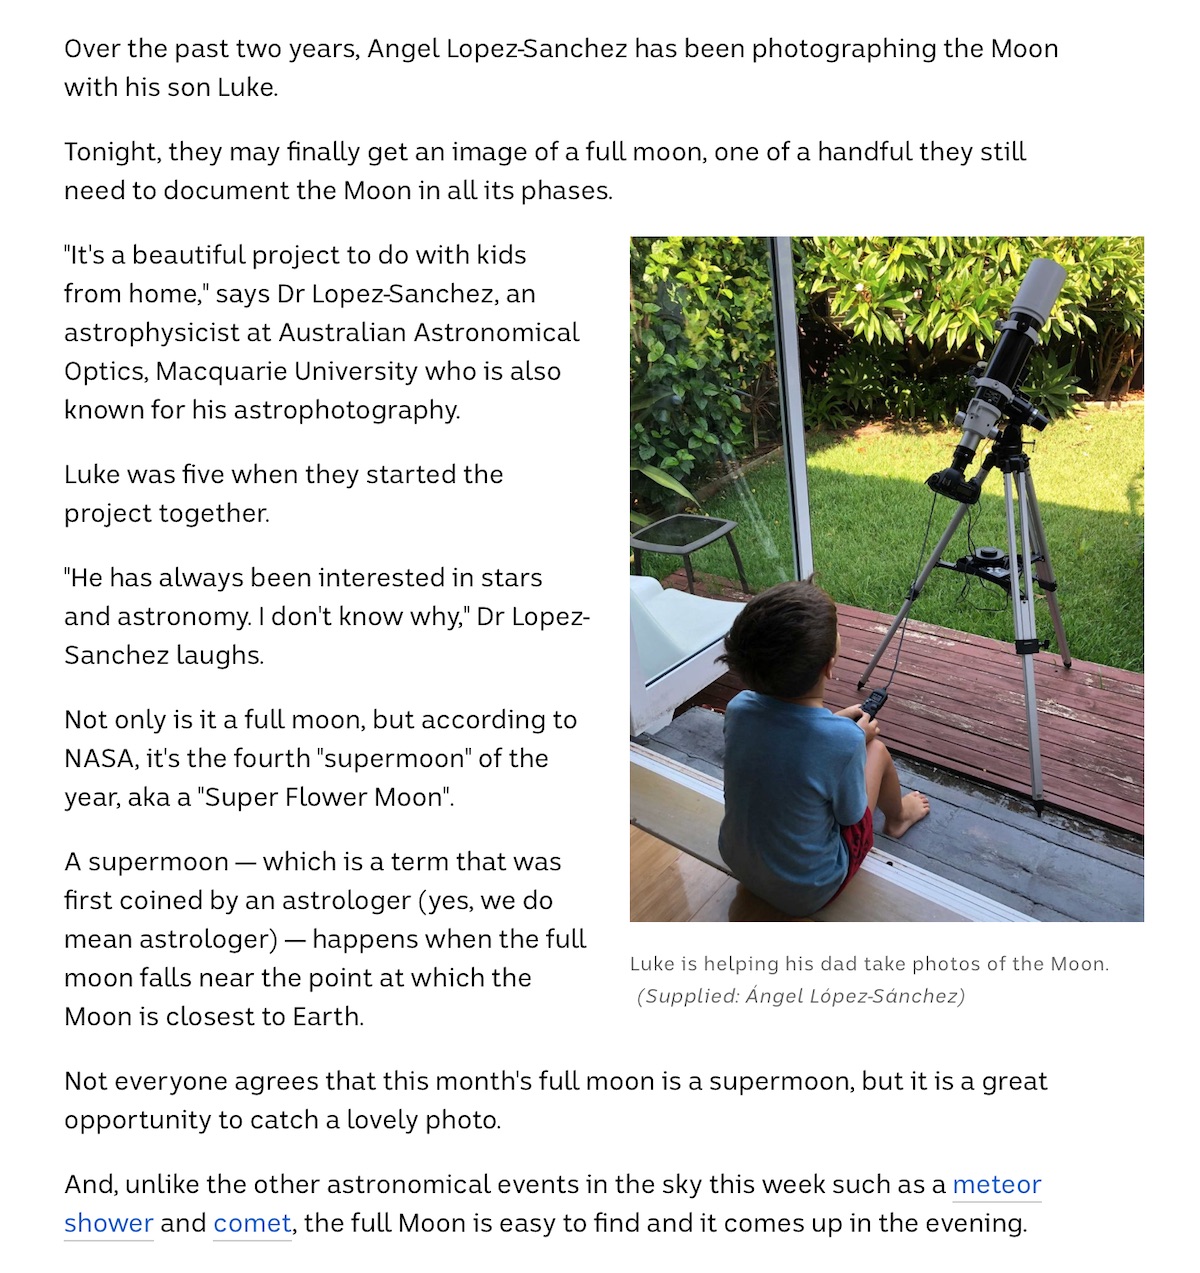
Test image of M 8 (The Lagoon Nebula) from my backyard, 15 km North from Sydney’s city center, on 21st Aug 2019.

That was my first attempt to get the new equipment working. I was testing the Skywatcher AZ-EQ6 mount and the ZWO ASI120MM (guiding) and ZWO ASI178MC (main camera) with the ASIair. But I had plenty of problems to get the guiding working as the mount was not properly aligned to the South Celestial Pole (over Sydney, very difficult to see the faint stars using the polar scope of the mount). I had to use the drift method. After that, getting the ASIair properly guiding was hard as I couldn’t find any easy manual and never used PHD for guiding before.

This image combines 25 (of a series of 60) good 180s frames using the ZWO 183MC and my Skywatcher Black Diamond 80 (F=600mm, f/7.5. No darks, flats, biases or light pollution filter was used for this.

Later it was also tricky for me to play with the raw data: I have never used a color camera producing .FITS files before! It took me some time to get a good free(*) software for it and I found Siril. But the “bayer” decomposition didn’t work well with the ZWO cameras and my images had very weird colours.

In March 2020 I learnt a couple of extra things, including changing the bayer matrix from RGGB to GBRG for ZWO cameras and… bingo! So here it is the test image I got that night more than half a year ago! And still testing the equipment!

Ah, yes, stretching, colour contrast, saturation, levels, and luminosity with Photoshop.

Full resolution image in my Flickr.

Credit: Ángel R. López-Sánchez (AAO-MQ).

(*) Don’t get me wrong… I’ll get PixInsight eventually, when I get everything working well.